Our poor old feet are probably one of the most neglected parts of our body. Hidden away in woolly socks and boots for a large part of the year, it’s no wonder they look a bit ‘unloved’ by the time Summer arrives. So, with the holiday season fast approaching we thought we’d pull together a few tips for a pampering, spa-style home pedicure to ensure your feet are looking fabulous and summer sandal ready!
Our guide to the perfect home pedicure
Step 1: Softening Foot Soak
The skin on our feet, and particularly the heels, has a tendency to get quite dry and hard, which can overtime lead to discomfort and painful cracks. Soaking in warm water is a great way to help soften the skin, making it easier to remove.
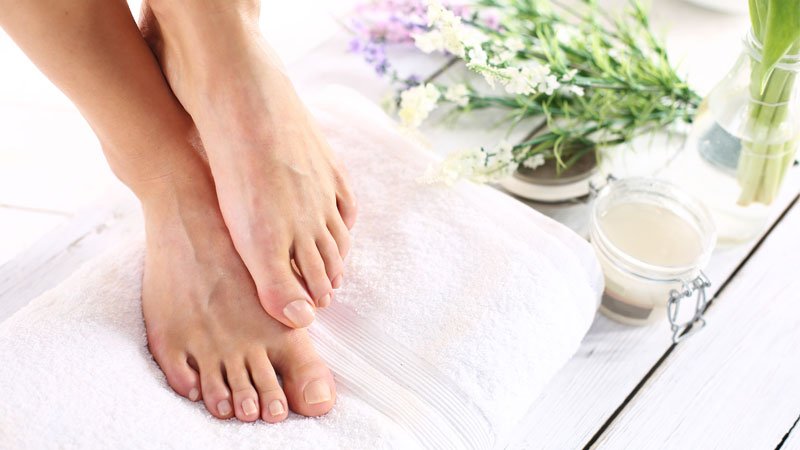
To create a soothing foot soak mix ¼ cup of Epsom Salt into a bowl of warm water and add 2 drops each of Lavender, Peppermint and Chamomile essential oil. Pop your feet in the bowl and enjoy a relaxing, skin softening foot soak. This blend is also perfect for soothing sore, tired feet. Keep your bowl of water handy as you will need it at a later stage.
Tip: If you suffer with sweaty feet you could add Cypress essential oil to your foot bath instead of the above oils. Try mixing it with Lime, as the two oils work really well together.
Step 2: File hard dry skin
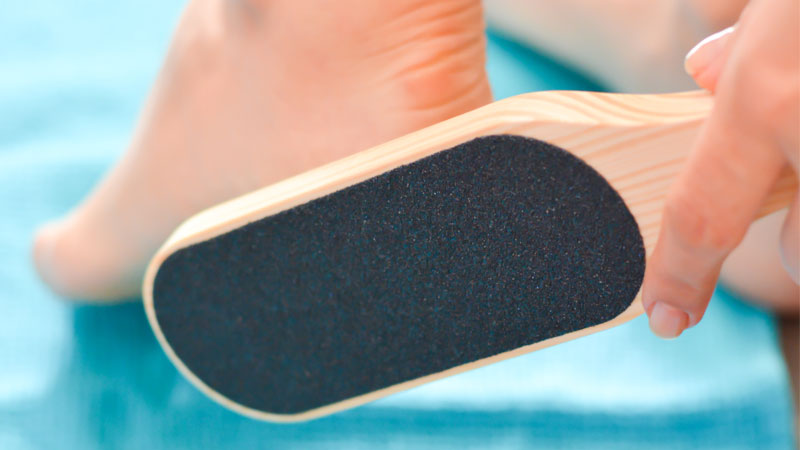
Remove your feet from the foot bath and dry off excess water. While the skin is still slightly damp, use a foot file to remove any hard, dry skin. Use a coarser grained file to remove dead skin and calluses and a finer grained file to smooth off the skin underneath. This will keep your heels silky smooth and help prevent painful, unsightly cracks.

Step 3: Foot Scrub
To remove any last traces of dry winter skin, mix up an exfoliating foot scrub with 28g of Himalayan Pink Salt, 15ml of Jojoba oil and 3 drops of Peppermint essential oil. You may need to lightly crush the pink salt first if the crystals are too coarse. Work the salt scrub into your feet with your hands or a flannel or mitt, paying particular attention to any areas of hard skin. Once you’re done, pop your feet back in your bowl of water to rinse them clean.
Step 4: Foot Massage
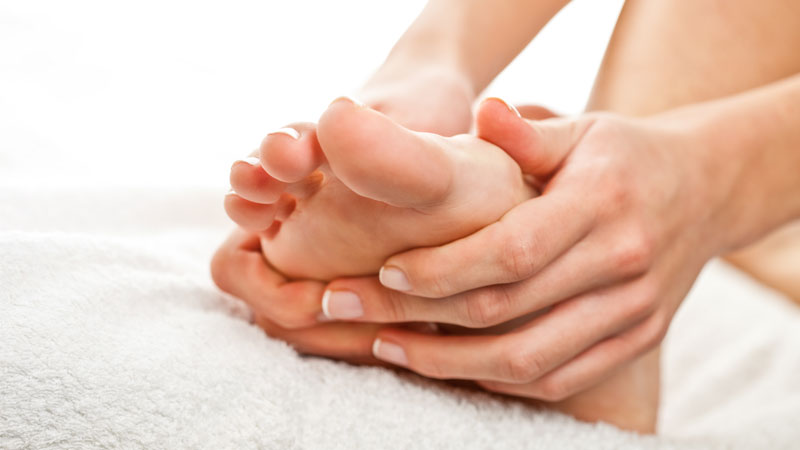
A foot massage can be lovely and soothing, particularly if you’ve been on your feet all day. It can also be helpful for reducing puffy feet and/or ankles. Use your favourite moisturiser or try our Foot Spa Massage Gel with Cypress and Lime, or Soothing Foot Gel with Cornmint and Lavender, and massage into the feet and legs as follows:
- Sit in a comfy chair with one foot resting on the opposite knee (or sit on the bed if preferred).
- Hold this foot with both hands and slowly run your thumbs along the bottom of your foot, working along the centre line from heel to toes.
- Massage the fleshy part of each toe and squeeze for a few seconds. Hold the base of each toe between your thumb and forefinger and pull up. Then pinch the skin between each toe, paying particular attention to the first two.
- Work the ball of your foot with your thumbs, using long, sustained strokes or small circles. As you do this, gently rub the top of the foot with your fingers. Repeat this process on the arch and heel.
- Flex and rotate your foot in both directions to loosen it up, then rub forwards and backwards just underneath your ankle with the flat of your hand. Stroke along the top of the foot from toes to ankle and finish off with long soothing strokes up the calf from ankle to knee.

Step 5: Clip, shape and smooth the nails
Clip your nails straight across the top and use a nail file to gently shape and smooth. Don’t clip the nails too short as this can lead to infection or ingrown toenails and always file in one direction to avoid breaking the nail and damaging the nail bed. If your nails are looking a bit discoloured you could try making this nourishing, whitening, buffing paste. Mix 1.5 tsp of Kaolin Clay and 5ml of Calendula oil with 2 drops Lemon essential oil and 1 drop Lemongrass. Gently buff into the nails and then rinse off in your foot bath.
Step 6: Cuticle care
To soften your cuticles, warm up a little carrier oil e.g. Olive oil, Coconut, Sweet Almond, Apricot, or Jojoba and massage into the cuticles. Leave to soak for a few minutes then use an orange stick to gently push back your cuticles. Please note that we do not recommend cutting your cuticles as this can be harmful for your nails and can lead to infection.
Step 7: Polish
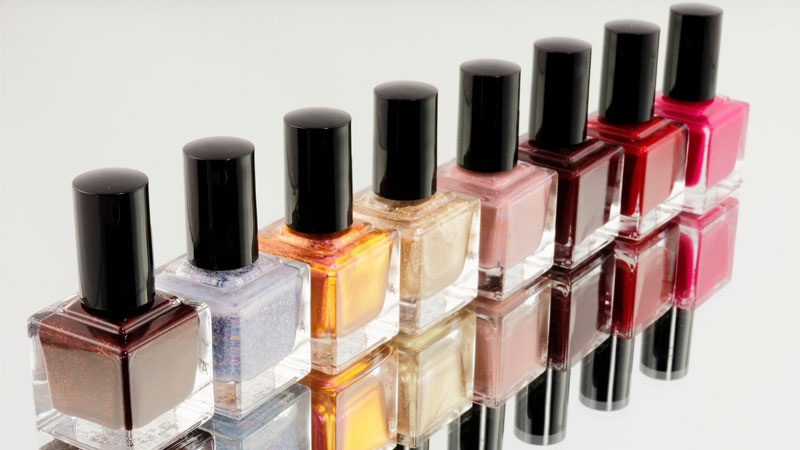
Finally, why not add a touch of colour to your Summer-ready toes! There are some great non-toxic nail varnishes on the market. Look out for the ‘free’ label. 3-free indicates that the most common toxins, formaldehyde, dibutyl phthalate (DBP) and toluene, have been removed, but there are also 5-free, 7-free, 9-free and even up to 12-free options on the market. Vegan nail varnish is also a growing trend.
Ensure that you’ve washed off all the cuticle softening oil before applying your nail varnish.

Step 8: Finishing touches
Once your polish is completely dry you can dab on a little more carrier oil around the cuticles to nourish the skin and nails. Then finish off with some more Foot Spa or Soothing Foot Gel for completely fresh and revitalised feet!
Keep using your foot gel on a daily-basis to pamper tired feet and keep your skin hydrated, soft and smooth.
Foot Spa Massage Gel with Cypress and Lime is particularly good if you suffer with swollen feet, ankles and legs, sweaty feet, cellulite or varicose veins.
Soothing Foot Gel with Cornmint and Lavender provides instant freshness and relief for hot, sore, tired feet and legs!
Base Formula

