“], “filter”: { “nextExceptions”: “img, blockquote, div”, “nextContainsExceptions”: “img, blockquote, a.btn, a.o-button”} }”>
Weekend warriors, listen up. These three classic yoga hip openers will help relax your hips after a day of biking, climbing, running, or any other athletic activities you enjoy. These poses also work great if you sit a lot. Caveat: Tight hip flexors sometimes need a bit more strengthening. So make sure you balance your stretches by incorporating some hip resistance training moves into a few of your weekly movement sessions.
Warm up your tight hip flexors (and your entire body) for the poses below by walking for a few minutes. You could also prep for this sequence by moving through a few rounds of Sun Salutations or Moon Salutations.
3 yoga poses for tight hip flexors
Eka Pada Rajakapotasana (One-Legged King Pigeon Pose), Variation
From Downward-Facing Dog, roll your body forward as if you were moving into a Plank Pose. Then bring your left shin to the ground. Keep your left hip directly behind your left wrist. Extend through your elongated right leg. Option: gently walk your hands forward and lower your elbows to rest your forearms on the mat or on blocks. You can place a blanket or block under your front hip for extra support and to help your hips heavy toward the earth. Hold for 5-10 breaths. Repeat on the other side.
Pro tip: Try these blocks to support your hips or forearms in Pigeon Pose.

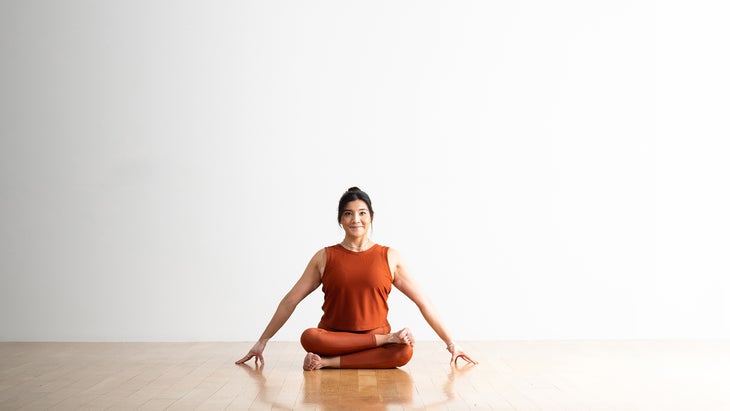
Agnistambhasana (Fire Log Pose)
Come into a comfortable, cross-legged seat. Place your right ankle on top of your left knee. Keep both feet flexed. You can place a blanket or block under your top knee for extra support and to help your hips anchor toward the ground. Sit tall or slowly fold forward by hinging at your hips and extending your arms in front of you. Hold for 5-10 breaths. Repeat on the other side.
Pro tip: Blankets can come in handy for this pose. Either slide the prop under your hips so that you can sit taller and , or place a folded blanket under your top knee.

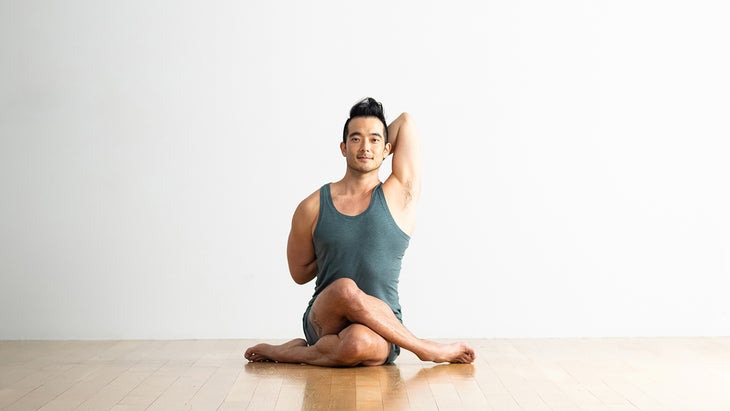
Gomukhasana Variation (Cow Face Pose)
Sit on a thickly folded blanket with your knees bent and feet on the floor, heels about 18 inches away from your buttocks. Slide your left foot under your right leg to the outside of your right hip and lay the outer left leg along the floor. Then assume a loose cross-legged position by placing your right ankle just to the outside of your left knee, so that your sole is perpendicular to the floor and your right shin and knee are more or less parallel to the floor. The position of the top ankle outside the bottom knee is essential. (If you place the top ankle on the knee, your foot might twist, which can injure the knee.)
Now tip your torso slightly forward and lay your hands on the floor in front of your shins. How far you’ll go will again depend on your flexibility. You might be able to lay your torso down easily on your inner legs, or you might find that a slight forward movement is sufficient to stretch your hips. In any case, don’t hunch over the legs. Keep your front torso long, and lean forward from your groins, not your belly. Hold for 5-10 breaths. Repeat on the other side.
We independently source all of the products that we feature on yogajournal.com. If you buy from the links on our site, we may receive an affiliate commission, which in turn supports our work.

